In today’s digital age, the convenience of wireless printing cannot be overstated. It allows you to print from multiple devices without the hassle of cables and cords. If you’ve recently acquired an HP printer and want to set it up wirelessly on both Windows and Mac devices, you’re in the right place. In this guide, we’ll walk you through the step-by-step process to setup your HP printer up and running on both operating systems.
Windows: Setting Up Your HP Printer Wirelessly
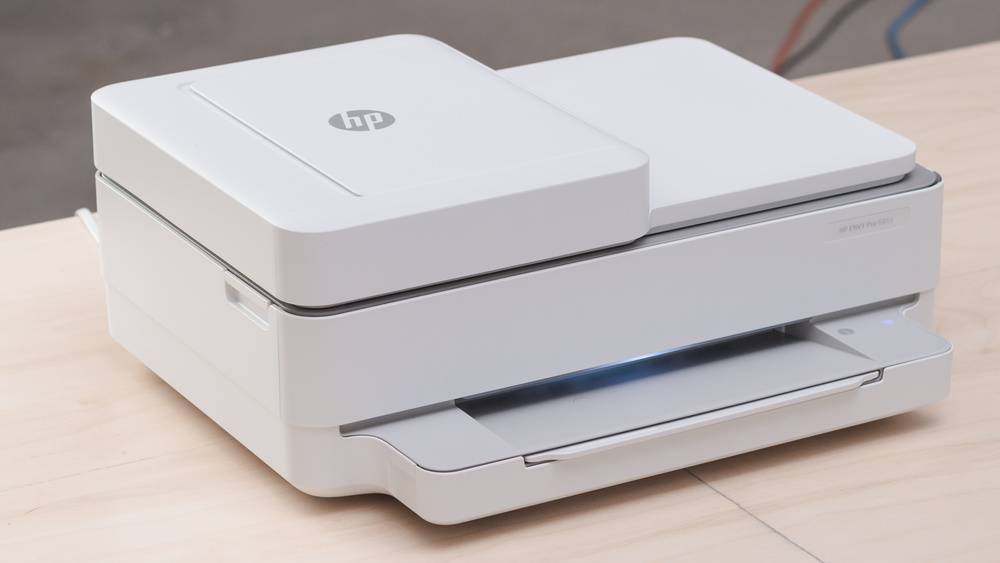
1. Unboxing Your HP Printer
Start by unboxing your HP printer and ensuring all components are present. This includes the printer, power cables, ink cartridges, and user manual.
2. Connecting the Printer to Power
Plug the power cable into the printer and a power outlet. Ensure a secure connection before moving on.
3. Loading Printer Paper
Consult your printer’s manual to load the appropriate paper size and type. Proper paper alignment is essential to prevent jams.
4. Installing Ink Cartridges
Follow the instructions in the manual to correctly insert and secure the ink cartridges in place.
5. Connecting the Printer to Your Windows PC
- Go to “Settings” on your Windows PC.
- Select “Devices” and then “Printers & scanners.”
- Click “Add a printer or scanner” and follow the on-screen instructions.
- Your computer should detect and add the HP printer.
6. Installing Printer Drivers
- Download the necessary printer drivers from the HP website.
- Run the installation file and follow the prompts to complete the setup.
7. Configuring Printer Settings
Customize your printer settings to match your specific printing requirements, such as print quality and paper type.
8. Wireless Printing Setup
- Consult the printer’s manual for instructions on connecting your printer to your Wi-Fi network.
- Ensure your Windows PC is on the same network.
9. Test a Wireless Print
Print a test document to ensure the wireless connection is successful.
Mac: Setting Up Your HP Printer Wirelessly
1. Unboxing Your HP Printer
Unbox the HP printer, ensuring that all components are present, including the printer, power cables, ink cartridges, and user manual.
2. Connecting the Printer to Power
Connect the power cable to the printer and a power outlet, ensuring a secure connection.
3. Loading Printer Paper
Refer to your printer’s manual for proper paper loading instructions to prevent paper jams.
4. Installing Ink Cartridges
Follow the instructions in the manual to correctly insert and secure the ink cartridges.
5. Connecting the Printer to Your Mac
- Click the Apple menu and select “System Preferences.”
- Choose “Printers & Scanners” and click the “+” button to add your HP printer.
- Follow the on-screen instructions to add the printer to your Mac.
6. Installing Printer Drivers
- Visit the HP website to download the required printer drivers for your Mac.
- Run the installation file and follow the prompts to complete the setup.
7. Configuring Printer Settings
Customize printer settings to suit your printing needs, adjusting print quality and paper type.
8. Wireless Printing Setup
- Refer to the printer’s manual for guidance on connecting your HP printer to your Wi-Fi network.
- Ensure your Mac is on the same network.
9. Test a Wireless Print
Print a test document to confirm that your wireless connection is functioning correctly.
Congratulations! You’ve successfully set up your HP printer wirelessly on both Windows and Mac operating systems. You can now enjoy the convenience of wireless printing from your devices without the hassle of cords and cables using this HP printer wifi connect method