
In today’s digital age, having a wireless printer can be a game-changer. No more dealing with cumbersome cables and restricted placement of your printer. With a wireless connection, you can print from virtually anywhere within your Wi-Fi network. In this article, we’ll guide you through the process of how to connect HP printer to wifi, covering all the methods available to make it a seamless experience.
Getting Ready
1.1 Ensure Printer and Wi-Fi Network Compatibility
Before you begin, make sure your HP printer is compatible with a wireless connection. Check the printer’s manual or HP’s website for specific information. Additionally, ensure that your Wi-Fi network is up and running.
1.2 Gather Necessary Equipment
You’ll need the following equipment:
- HP Printer
- A computer or mobile device with Wi-Fi capabilities
- Your Wi-Fi network name (SSID) and password
- USB cable (for traditional setup)
Connecting Your HP Printer to Wi-Fi
2.1 Method 1: Wi-Fi Direct
Wi-Fi Direct allows you to connect your printer directly to your device without a network. Here’s how:
- Turn on Wi-Fi Direct on your HP printer.
- On your device, open the Wi-Fi settings and look for the printer in the available networks.
- Connect to the printer’s Wi-Fi Direct network.
- Install the necessary drivers and start printing.
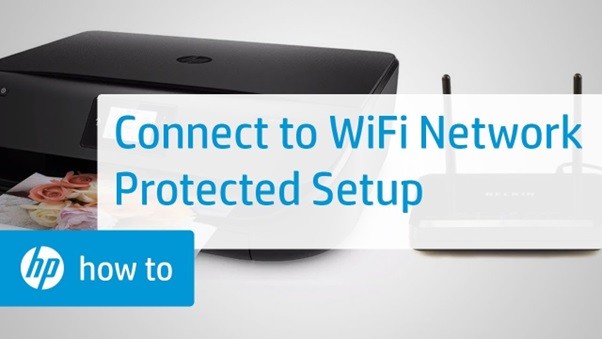
2.2 Method 2: WPS (Wi-Fi Protected Setup)
If your Wi-Fi router supports WPS, you can use this method:
- Press the WPS button on your router.
- On your HP printer, navigate to the Wi-Fi settings and select WPS as the connection method.
- The printer will connect to your Wi-Fi network automatically.
2.3 Method 3: Using the HP Smart App
The HP Smart App simplifies the setup process:
- Download and install the HP Smart App on your mobile device.
- Open the app and follow the on-screen instructions to add your printer.
- The app will guide you through the Wi-Fi setup.
2.4 Method 4: Traditional Wireless Setup
For a more traditional setup:
- Connect your printer to your computer using a USB cable.
- Install the HP printer software.
- During the installation, select a wireless connection.
- Follow the prompts to connect to your Wi-Fi network.
Troubleshooting Common Issues
3.1 Unable to Find Your Wi-Fi Network
If your printer can’t find your Wi-Fi network, double-check your network’s visibility settings and ensure it’s broadcasting.
3.2 Incorrect Wi-Fi Password
Make sure you’re entering the correct Wi-Fi password. It’s case-sensitive, so check for any typos.
3.3 Printer Not Responding
If your printer is not responding, try restarting it. Also, ensure it’s within the Wi-Fi range.
3.4 Printer Offline Issue
If your printer appears offline, check the printer settings, and try reconfiguring the connection.
Advanced Setup Options
4.1 Configuring Printer IP Address
For advanced users, you can manually configure the printer’s IP address for better network management.
4.2 Connecting Multiple Devices
You can connect multiple devices to the same printer, allowing seamless printing for everyone in your household or office.
4.3 Securing Your Wi-Fi-Connected Printer
To enhance security, set up encryption and access controls to prevent unauthorized printing.


